Choose for the Repair Method
Define the intended hole and repair process before selecting a drill. Reverse drilling does not guarantee that a damaged fastener will back out.

Run a genuine left-hand drill in reverse, select the required pilot size, and control alignment and depth. This guide helps maintenance teams and tool distributors connect workshop drilling decisions with the tools they need to specify.
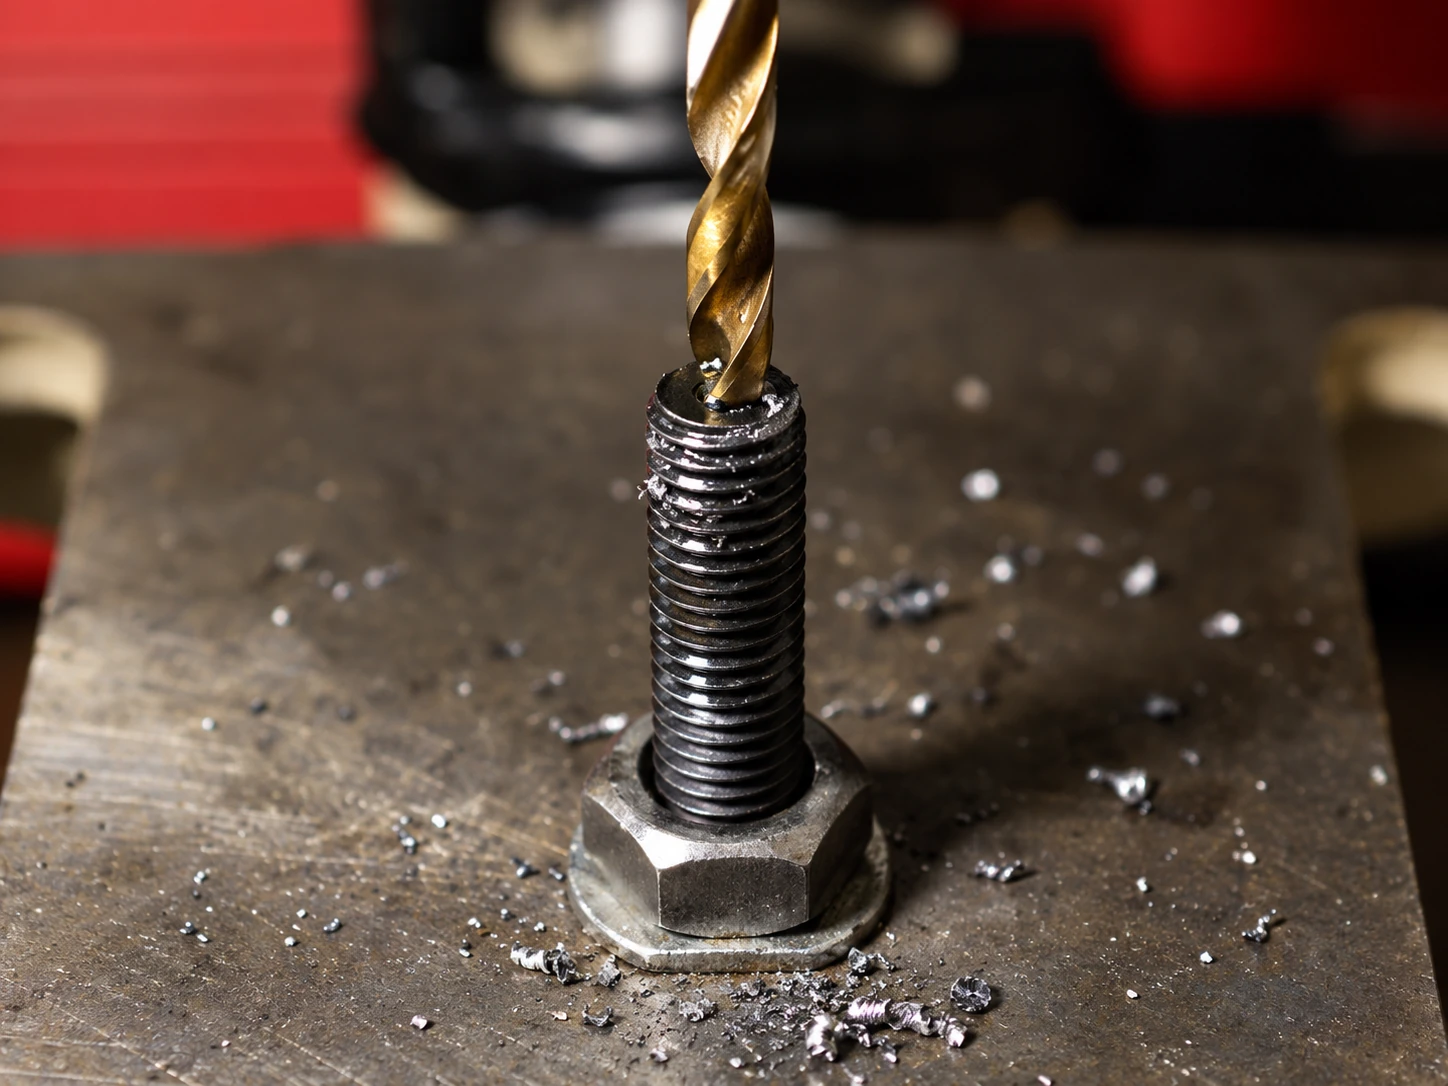
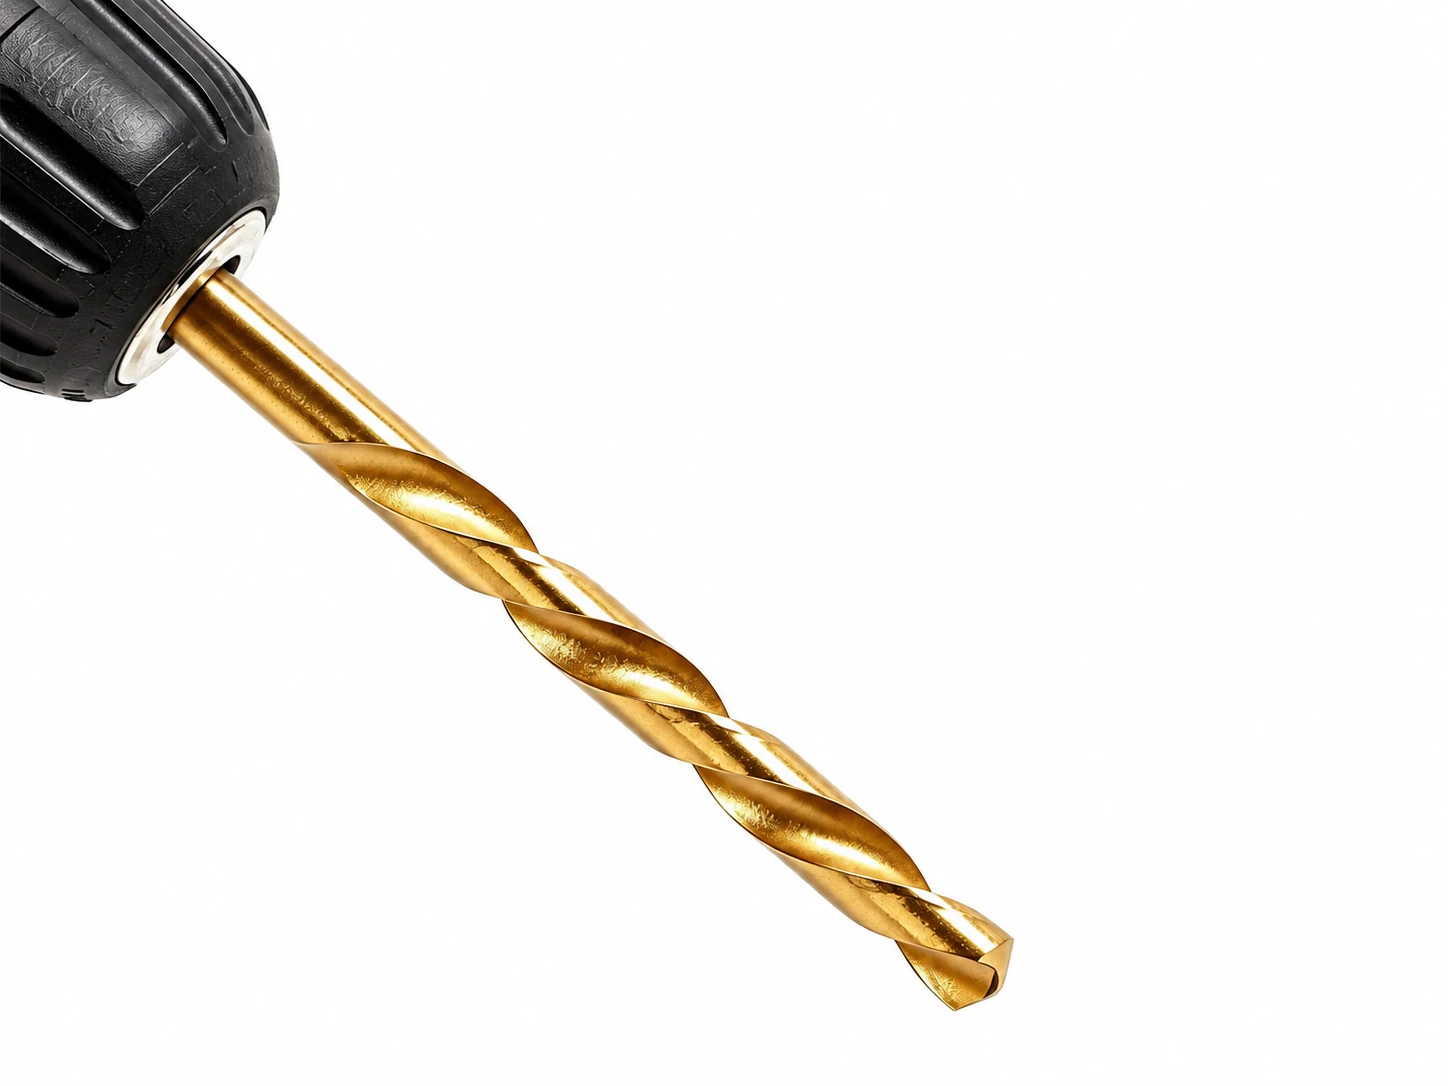
Start with the intended repair and the hole it requires. Diameter, working reach, material and holding interface determine which drill belongs in the setup, giving maintenance buyers a clear specification for an individual tool or replacement assortment.
Left-hand drills belong in a maintenance range when the repair calls for reverse cutting. A common task is pilot drilling into a broken right-hand-threaded fastener. The cutting torque sometimes helps loosen the remnant, while a conventional right-hand drill cuts in the opposite direction. That is a useful reason to stock the correct tool, but it is not a promise that drilling will remove every seized fastener.
For a repair workshop, begin with the hole needed and the access available. For a distributor advising that workshop, collect the same information before recommending a set. A familiar case, a cobalt label or a large piece count does not answer whether the required pilot diameter and working reach are included.
| Workshop Requirement | Tool-Selection Information | Purchasing Consequence |
|---|---|---|
| A known extractor will follow drilling | Its specified pilot diameter and engagement depth | Order the matching drill rather than an approximate size |
| A broken piece sits below the face | Recess depth, drilling depth and available approach | Select actual length and holding arrangement together |
| Several stations use the same repair method | Required sizes, tool material and machine interface | Keep one repeatable specification for replacements |
| A distributor serves varied repair shops | Customer size systems and commonly requested diameters | Separate assortment coverage from individual replenishment |
A left-hand twist drill cuts material to make a hole. An extractor grips a damaged fastener for a separate turning operation. Keep those identities clear in training, stock descriptions and quotations. This guide deals with the drilling stage; the broken-bolt extractor guide addresses the wider extraction task.
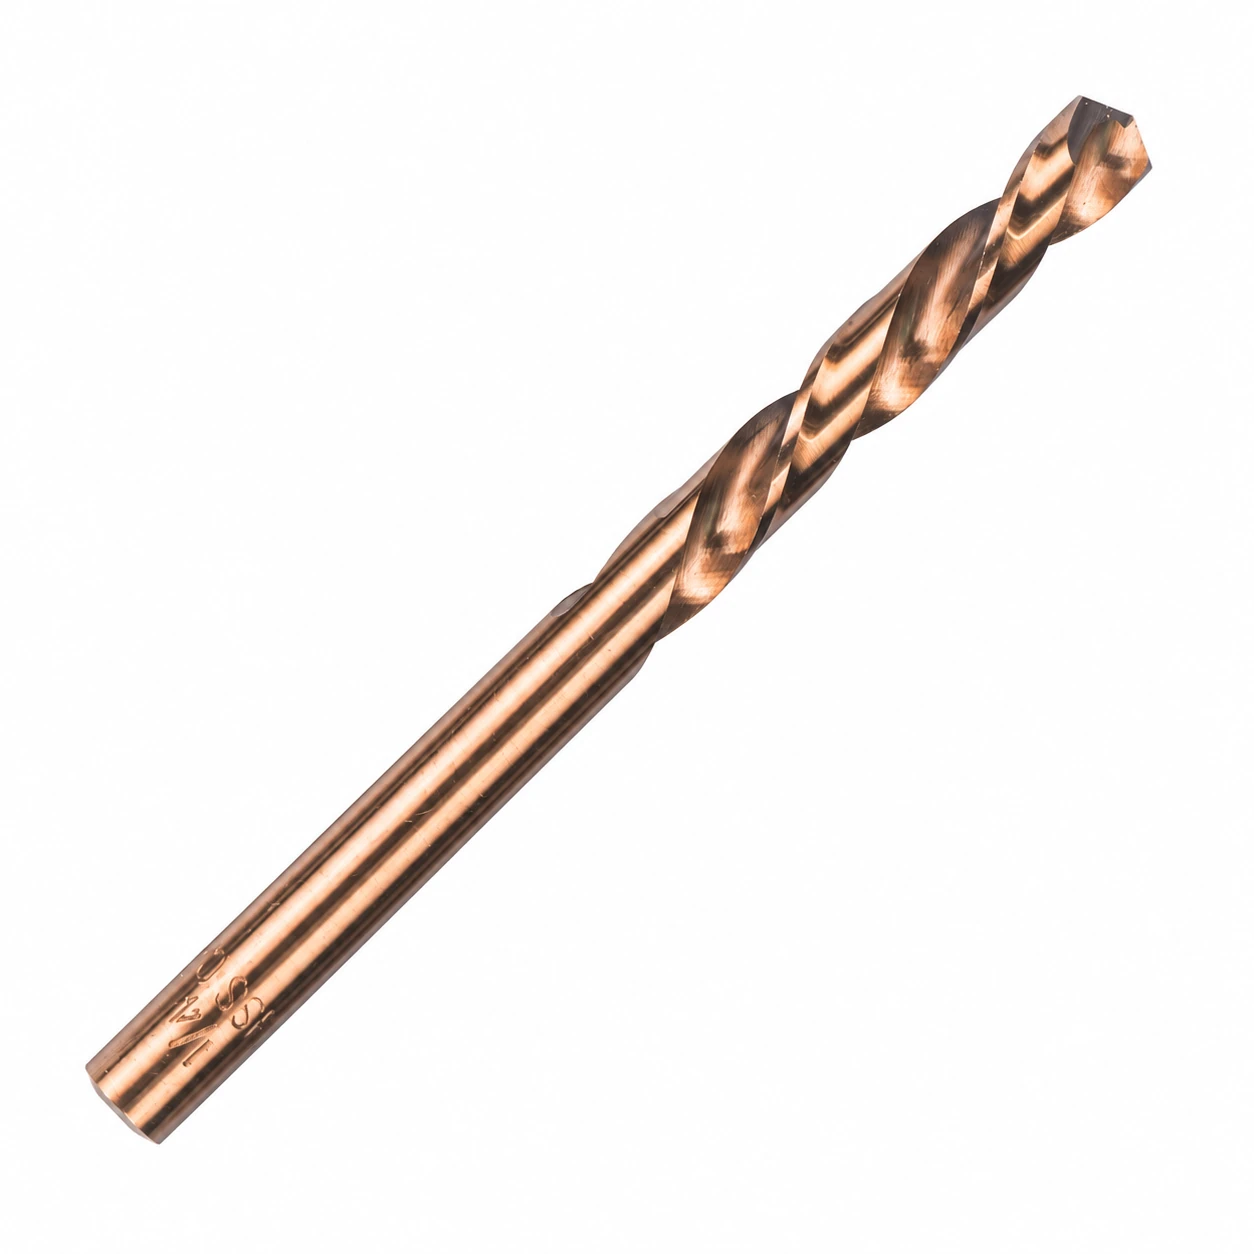
Start by identifying what remains of the fastener. A damaged drive recess, a broken head and a stud snapped below the surface create different access problems. If an intact portion can be gripped without drilling, assess that option before making a hole. This guide focuses on controlling the left-hand drilling stage.
Establish the thread direction. The usual reverse-drilling approach discussed here concerns right-hand-threaded fasteners. A left-hand-threaded fastener loosens in the opposite direction, so do not assume that counterclockwise cutting will help remove it. Equipment documentation is particularly important when the fastener belongs to a rotating assembly or another location where unusual thread direction is possible.
Inspect the surrounding component as carefully as the broken piece. Determine whether the hole is blind or open, how much fastener length remains, and whether another surface lies behind it. Protect nearby mechanisms from chips. When damage to a costly housing or a critical threaded joint would be consequential, plan the repair with a qualified technician rather than treating the drill as a guaranteed extraction method.
The drill diameter must suit the next operation and leave enough fastener material around the hole. When a specific extractor will follow, use that extractor manufacturer's drill-size requirement. Do not substitute a convenient nearby size solely because it appears close on an inch-to-metric chart.
The screw head's outside diameter is not a reliable drilling specification for a broken stud. The remaining shank, thread core, hole alignment and intended extraction method are more relevant. An oversized or off-center hole can cut into the parent component before you have created a useful extractor seat. A very small drill also brings a greater risk of bending or breaking when alignment is poor.
A shorter drill generally offers less unsupported length, while a longer drill reaches a recessed location or clears an obstruction. Choose enough reach for the job without leaving unnecessary tool length outside the chuck. Stub, mechanics-length and jobber-length descriptions help identify families, but actual dimensions decide whether the tool reaches the work.
Keep overall length, flute length and permitted drilling depth distinct. A catalog's maximum drilling-depth field is not automatically a flute-length measurement. Measure the available approach space, the depth of the recess and the planned hole before choosing a tool. Do not extend the drill precariously from the chuck to compensate for an unsuitable length.
HSS and cobalt-alloy high-speed-steel drills are material categories, not universal hardness ratings. Consider the fastener's material and condition, the drill manufacturer's application guidance and the rigidity available. A cobalt description does not establish that the tool will cut every hardened bolt or drill through a broken hardened extractor.
For repeat workshop supply, retain the specified material category with the selected drill configuration. Identify a required steel grade or coating separately when it forms part of the purchasing specification. A replacement chosen only by visible diameter can differ in point, length or material from the tool it replaces.
Use a machine that permits the required reverse cutting operation and retains the selected drill securely in that mode. A direction switch alone does not establish that every chuck, arbor or accessory is suitable. Check the machine and holder instructions, especially when using a stationary machine or a quick-change interface.
For a conventional round-shank twist drill, use a compatible drill chuck. Grip the shank as directed by the machine manufacturer, keep the cutting flutes clear of the jaws, and check for obvious wobble before touching the work. Stop and correct a bent drill, damaged chuck or poor seating; extra pressure will not correct that alignment problem.
Hex descriptions need particular care. A 1/4-inch hex drive is not interchangeable with a specialized 7/16-inch hex connection. A drill marked 7/16 inch can instead be describing its cutting diameter and still have a round shank. Compare the actual connection dimensions and retention arrangement rather than reading every fraction as a drive size.
Use rotary drilling mode for this operation. Do not add hammer action or assume that a hex shank authorizes impact use. Isolate the machine before installing or adjusting accessories, secure the work and follow the machine's operating instructions. Wear appropriate eye protection and keep loose clothing, hair and other entanglement hazards away from rotating parts.
For the conventional setup described here, reverse means counterclockwise rotation when viewed from behind the drill, looking along it toward the workpiece. Looking directly back at the cutting tip reverses the apparent direction. State the viewing direction when explaining the procedure to another operator or preparing training material.
Select reverse while the machine is stopped. Make a brief, controlled check with the tool clear of the work and with hands away from the rotating assembly. Confirm that the selected drill and machine direction agree. For workshop training, show the direction check with the machine clear of the work before demonstrating the cutting stage.
If the drill rubs without cutting, stop to check the direction and tool identity before increasing feed. A conventional right-hand drill running in reverse is a different problem from a genuine left-hand drill with a worn edge. Correctly identifying the problem protects the work and makes troubleshooting much more useful than simply choosing a larger motor.
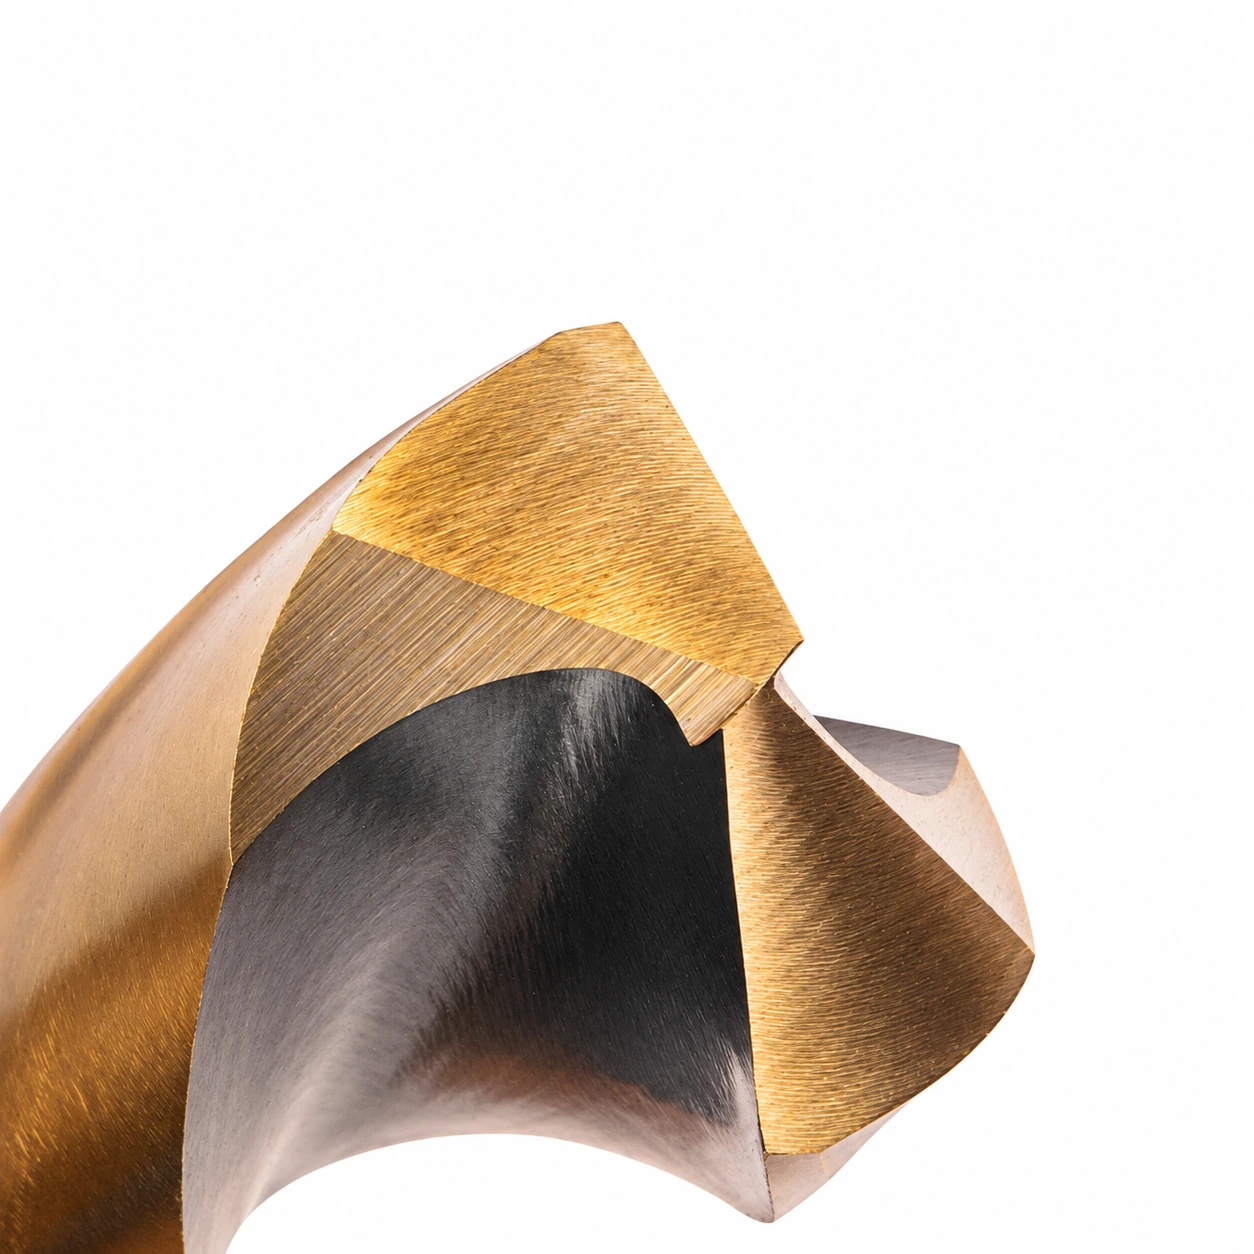
Locate the center of the remaining fastener, rather than the apparent center of an irregular fracture surface. Check alignment from more than one direction. A sloping break can encourage the drill to wander before both cutting lips engage, and a hole that starts off-center becomes increasingly difficult to correct as it deepens.
Where suitable for the material and repair, an accurately placed center mark or an appropriate drilling guide can help establish the start. Do not attempt to flatten a difficult broken surface by forcing a flexible drill sideways. A recessed, angled or hardened fracture may require a more rigid setup or a different preparation method.
Keep the drilling axis aligned with the fastener axis. Support the work so it does not move as the drill begins cutting. If a guide is used, match its bore and permitted tool diameter, and make sure it does not prevent chips from clearing. An improvised loose guide does not provide the same control as a properly fitted fixture.
Begin with controlled engagement. If a pilot hole is appropriate, choose its size as part of the complete drilling or extraction procedure. A smaller pilot is not automatically beneficial for every point design or hole sequence. Stop early if the start moves toward the surrounding threads rather than continuing in the hope that a deeper hole will straighten itself.
There is no single RPM that fits every left-hand drill. Diameter, drill material, fastener material, hardness, lubrication and machine rigidity all affect the selection. Use the applicable tool guidance and remain within the machine's permitted range. A large diameter and a small diameter should not inherit the same setting simply because they belong to one set.
Feed should keep the drill cutting without excessive bending, chatter or heat. If it only polishes the surface or repeatedly stalls, investigate the cause instead of pressing harder. A dull edge, unsuitable material pairing, incorrect rotation or poor support needs a different correction. Stop when the drilling behavior changes unexpectedly.
Chip removal becomes more important as the hole deepens. Allow chips to clear and use a suitable cutting fluid where required for the material, tool and equipment. Do not let lubricant enter equipment or assemblies that cannot tolerate it. Follow the applicable operating guidance rather than treating every fluid as interchangeable.
If withdrawing the drill to clear chips, keep control of the tool and avoid levering it against the hole wall. Let rotation stop before clearing chips by an appropriate method; keep fingers away from sharp turnings. A loaded flute and rising resistance are reasons to reassess the cut, not to continue until the drill locks.
Set the hole depth before drilling, particularly in a blind hole. Account for the drill point as well as the usable hole required by the next tool. The point extends beyond the full-diameter portion of the hole, so a depth instruction that ignores it can put the underlying component at risk.
Use an appropriate depth-control method for the setup and recheck it after a tool change. Do not infer safe depth from overall drill length or the depth of a visible recess. If the fastener's remaining length is unknown, establish it from suitable documentation or measurement before committing to a deep hole.
As the drill cuts a broken right-hand-threaded fastener, the cutting torque sometimes starts the remnant turning out. Stop feeding deeper when that happens and maintain control of the machine and loosening part. The useful outcome is controlled movement of the fastener, not maximum hole depth.
If the drill produces a centered hole without loosening the remnant, it has still performed a drilling operation. It has not necessarily failed. Whether to proceed with an extractor depends on the prepared hole, remaining wall thickness, thread condition and the chosen extractor's instructions. Do not use uncontrolled force to make the drill serve as an extractor.
Stop if the tool bends, the hole moves off-center, the cut ceases to progress, or the work begins to move. A broken hardened tool left in the hole can make the repair more difficult. A planned change of method is preferable to turning an accessible broken fastener into a damaged housing and an embedded tool fragment.
| What You Observe | What to Check Before Continuing |
|---|---|
| The point rubs without forming a useful cut | Genuine left-hand geometry, reverse selection, cutting edge and material suitability |
| The drill visibly wobbles | Shank seating, chuck condition, bent tooling and unsupported length |
| The hole starts toward one side | Center location, fracture angle, guide fit and machine alignment |
| Chips stop clearing and resistance rises | Hole depth, flute loading, cutting conditions and withdrawal method |
| The broken piece begins to rotate | Stop deeper feed and control the loosening remnant |
| The hole is complete but the piece stays fixed | Assess the next repair method and its specified pilot size |
For the broader repair sequence, see the broken-bolt screw extractor guide. Drill selection and reverse cutting are only part of that decision; extractor type, engagement and the condition of the threaded joint require their own assessment.
A maintenance assortment should reflect the fasteners, pilot requirements and access conditions the workshop actually encounters. Start with the repair methods already used, then list the required drill diameters. Where an extractor specifies a pilot size, retain that exact requirement. A broader set offers more choices, but the number of tools alone does not establish that it contains the working sizes needed.
Keep fractional, metric, letter and numbered references distinct. A fractional set progressing in 1/64-inch steps covers different intermediate sizes from one progressing in 1/32-inch steps, even when their minimum and maximum diameters match. A letter or wire-gauge set addresses another size system. For a distributor, those distinctions provide a clearer basis for product recommendations than promoting the largest case as the most complete choice.
When a workshop evaluates a drill, record the work material, drill size, length, holding arrangement and cutting conditions. Record the drilling result separately from the removal result. A centered hole at the required depth and a fastener that unscrews are different observations. This makes the experience useful when deciding whether to replenish the same drill, change the setup or use a different repair method.
| Repeat-Order Field | What to Retain |
|---|---|
| Diameter | Exact value and original size system |
| Tool construction | Material category, point and required finish |
| Access dimensions | Overall length and relevant working dimensions |
| Holding interface | Shank form, connection dimensions and compatible holder |
| Assortment | Included sizes and quantities at each diameter |
| Quantity | Individual drills, complete sets and accessories listed separately |
Count drills separately from extractors and holders in a combined repair kit. Repeated drill sizes can be useful replenishment, but they are not extra diameter coverage. Keeping a size-and-quantity schedule with the order lets purchasing compare a replacement case with the original supply without relying on a headline piece count.
Tool distributors can use this information to separate two customer needs: an initial assortment and routine replacement sizes. A customer whose shop uses one pilot repeatedly may need individual drills alongside a broader set. Another workshop may require a different length to reach recessed work. Preserve those requirements in the order description rather than silently substituting a similar-looking tool.
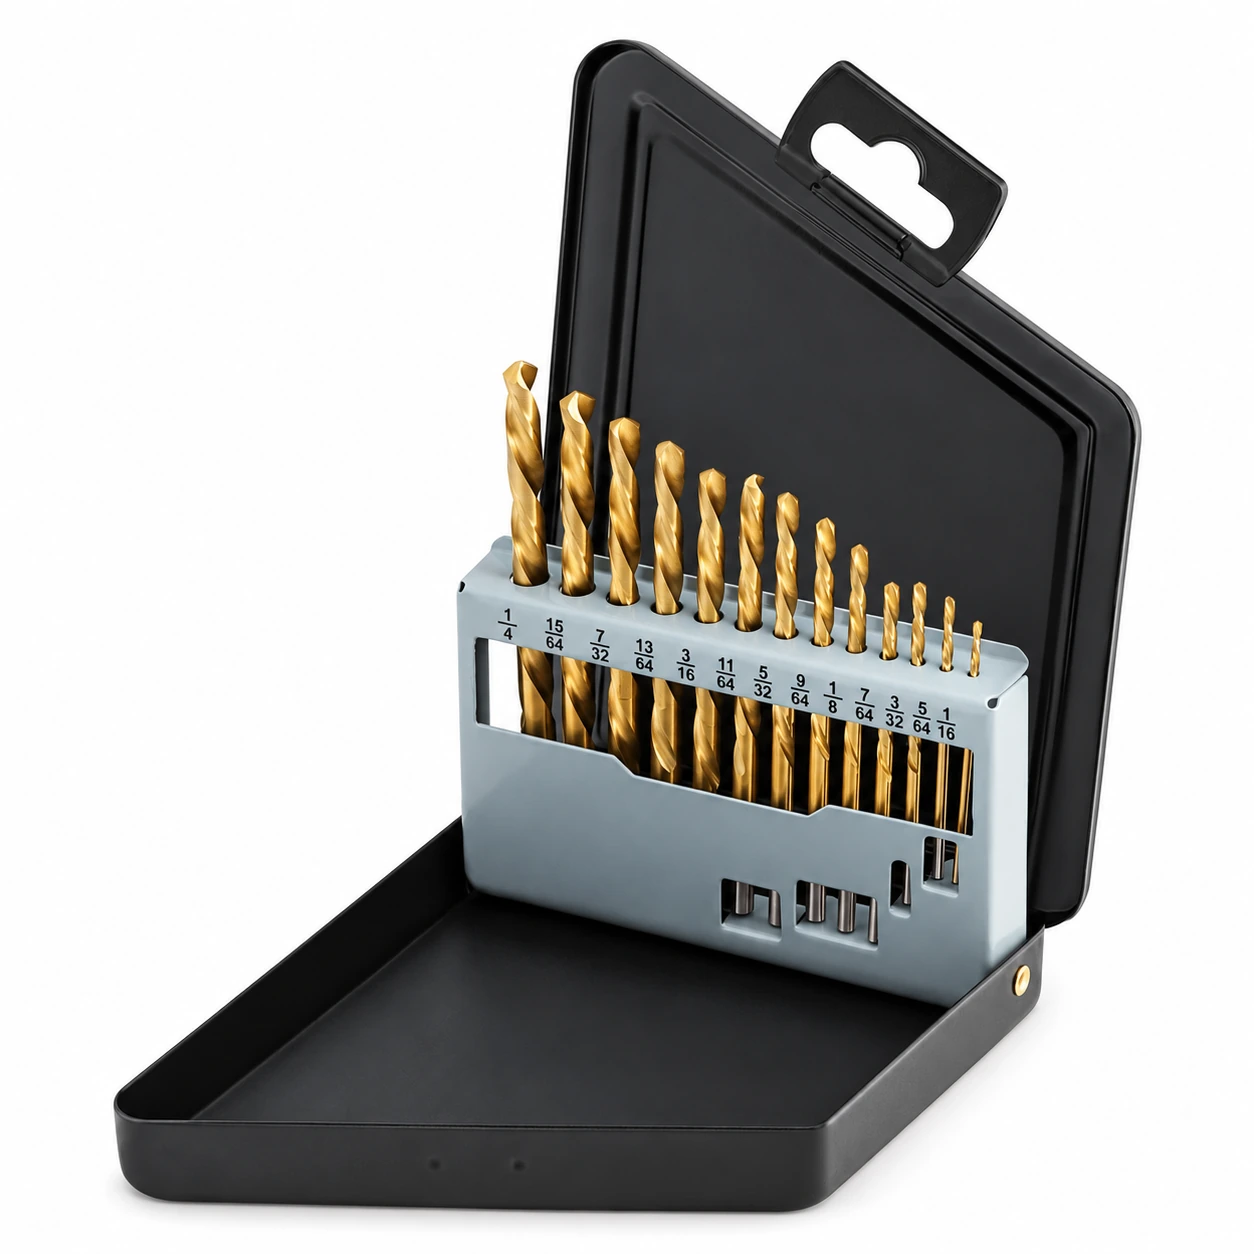
Compare application fit, equipment compatibility and the supply configuration when preparing your purchasing requirement.
Define the intended hole and repair process before selecting a drill. Reverse drilling does not guarantee that a damaged fastener will back out.
Check rotation, holding, alignment and working depth before cutting. Use the guide to identify when continued drilling, a tool change or specialist repair is appropriate.
Record the successful tool configuration and the sizes the workshop needs. Separate individual replacements from complete assortments when planning replenishment.
No. Reverse cutting sometimes loosens a broken right-hand-threaded fastener while forming the hole, but corrosion, distortion and the joint's condition can prevent movement. A correctly drilled hole is a separate result from successful removal. If the remnant stays fixed, assess the prepared hole and the next repair method instead of forcing the drill to turn the fastener.
A conventional right-hand twist drill does not acquire left-hand cutting geometry when reversed. Use a genuine left-hand drill for reverse cutting. If an unknown tool rubs without cutting, stop and check the drill identity, direction and edge condition before changing the feed or assuming that the material is too hard.
Choose the diameter for the intended hole and the material remaining in the fastener. When using an extractor afterward, follow its specified drill size. Account for alignment, thread core and hole depth rather than choosing a drill from the screw head's width. There is no reliable universal drill-to-bolt ratio for every repair.
No. Cobalt-alloy HSS is a tool material category, and suitability depends on the actual fastener hardness, drill construction and setup. A cobalt label does not prove that the drill can cut every hardened component. A broken hardened extractor also creates a different task from drilling ordinary fastener steel; reassess the method before proceeding.
A hex shank identifies a connection, not permission to apply impacts. Use equipment and holders approved for the particular drill and reverse cutting operation. For the twist-drill procedure in this guide, use controlled rotary drilling. Check both connection size and retention; specialized 7/16-inch hex tooling is different from an ordinary 1/4-inch quick-change drive.
Record each drill's diameter and unit, material category, overall length, relevant working dimensions, point and shank. For sets, add quantities by size and distinguish drills from extractors and holders. This keeps replacement orders tied to the intended operation and avoids turning a repeated tool, an approximate conversion or a mixed-kit piece count into the wrong supply specification.
Send AXIMET your required drill sizes or set schedule, quantities and delivery destination. Add the material, working reach and machine connection when the tools must match an existing workshop procedure. A current extractor pilot schedule or replacement-drill reference gives the quotation a useful starting point.
Use the HSS and cobalt drill range to distinguish broader drilling requirements from this reverse-cutting task. For associated gripping tools, review the screw extractor range.