Choose the Working End for the Job
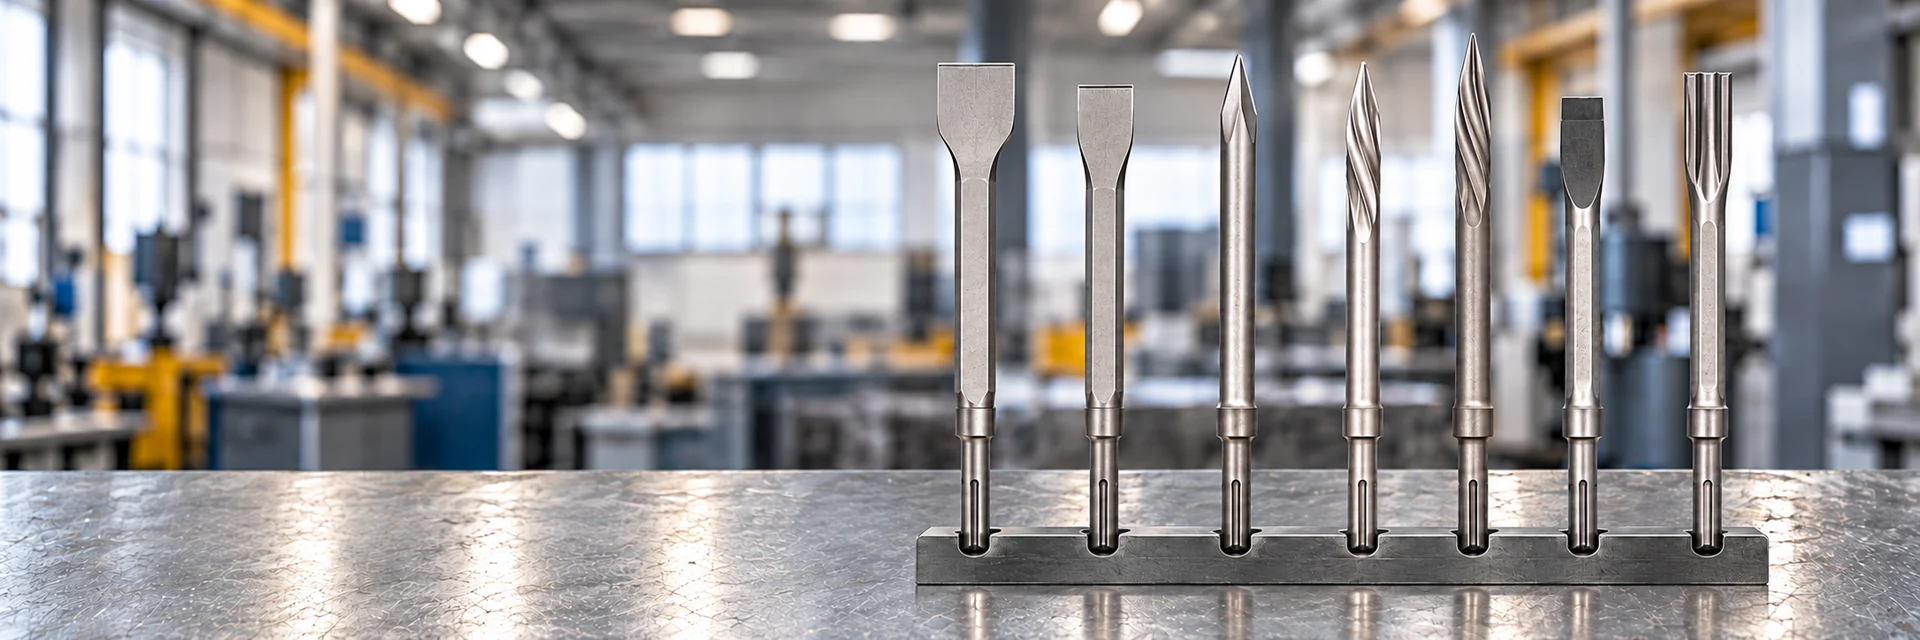
Start with the result you need. Breaking material in a confined spot, removing material along an edge and lifting a layer from a surface are different tasks. A chisel shape that reaches one area effectively may obstruct your approach to another. Compare the working end with the way the material needs to separate, rather than selecting by overall size or the apparent strength of the tip.
The table below explains general selection differences between common working-end shapes. Use it to describe your requirement; the intended material and task still need to match the instructions for the particular chisel and machine.
| Working-End Shape | Selection Purpose | What to Compare |
|---|
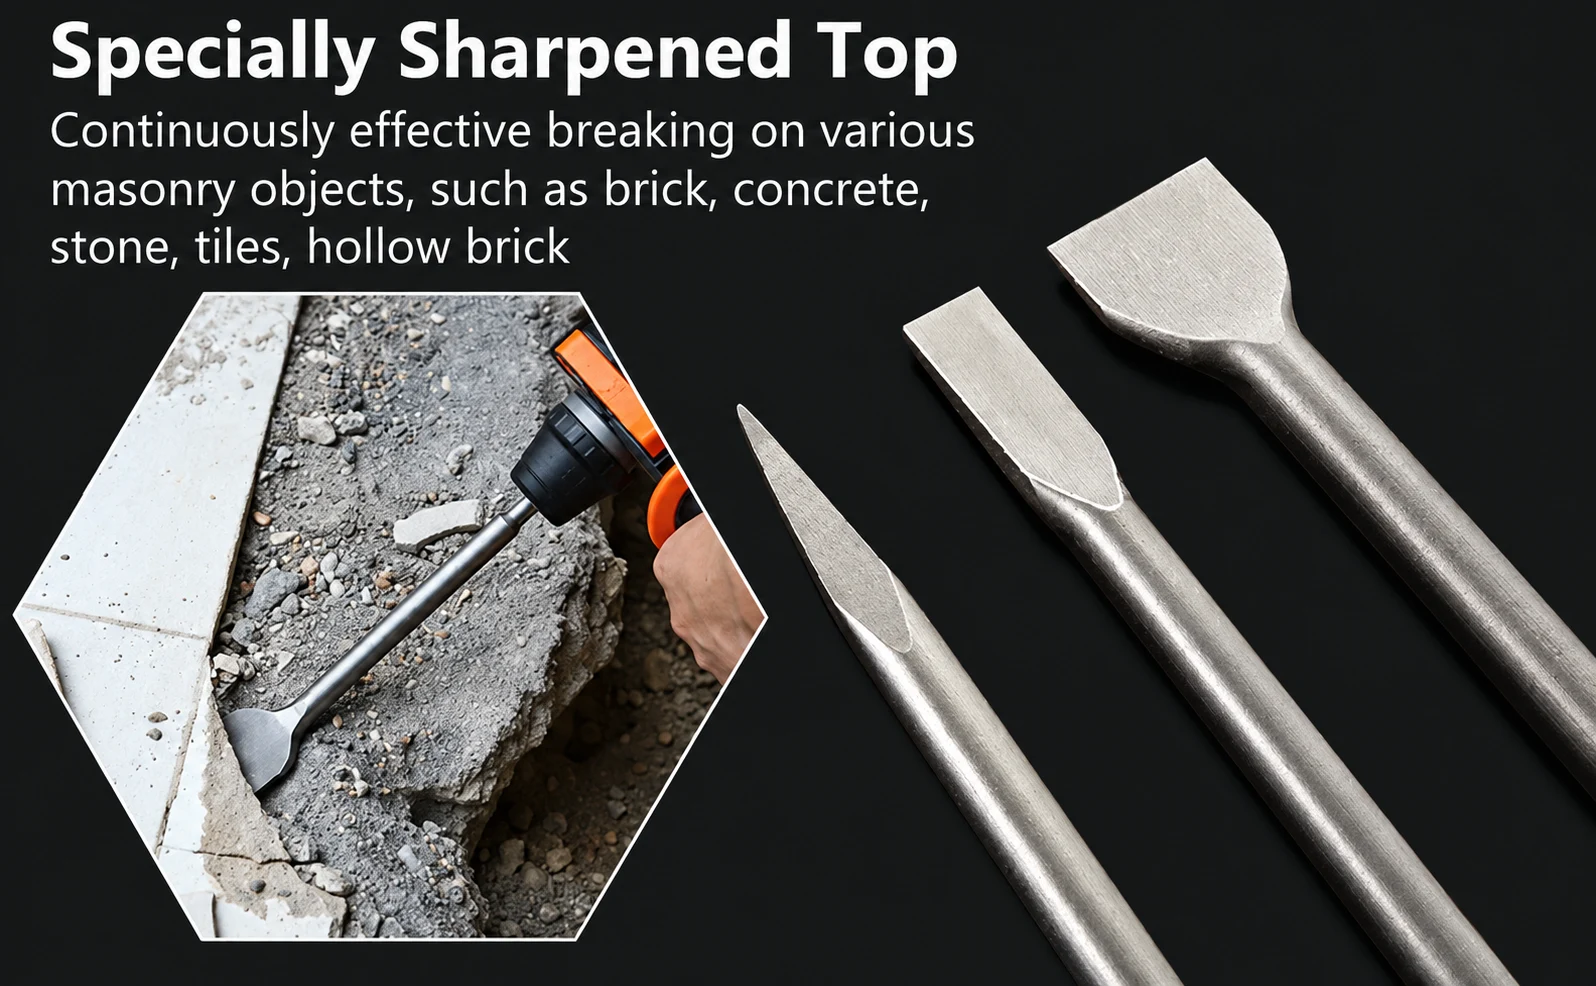
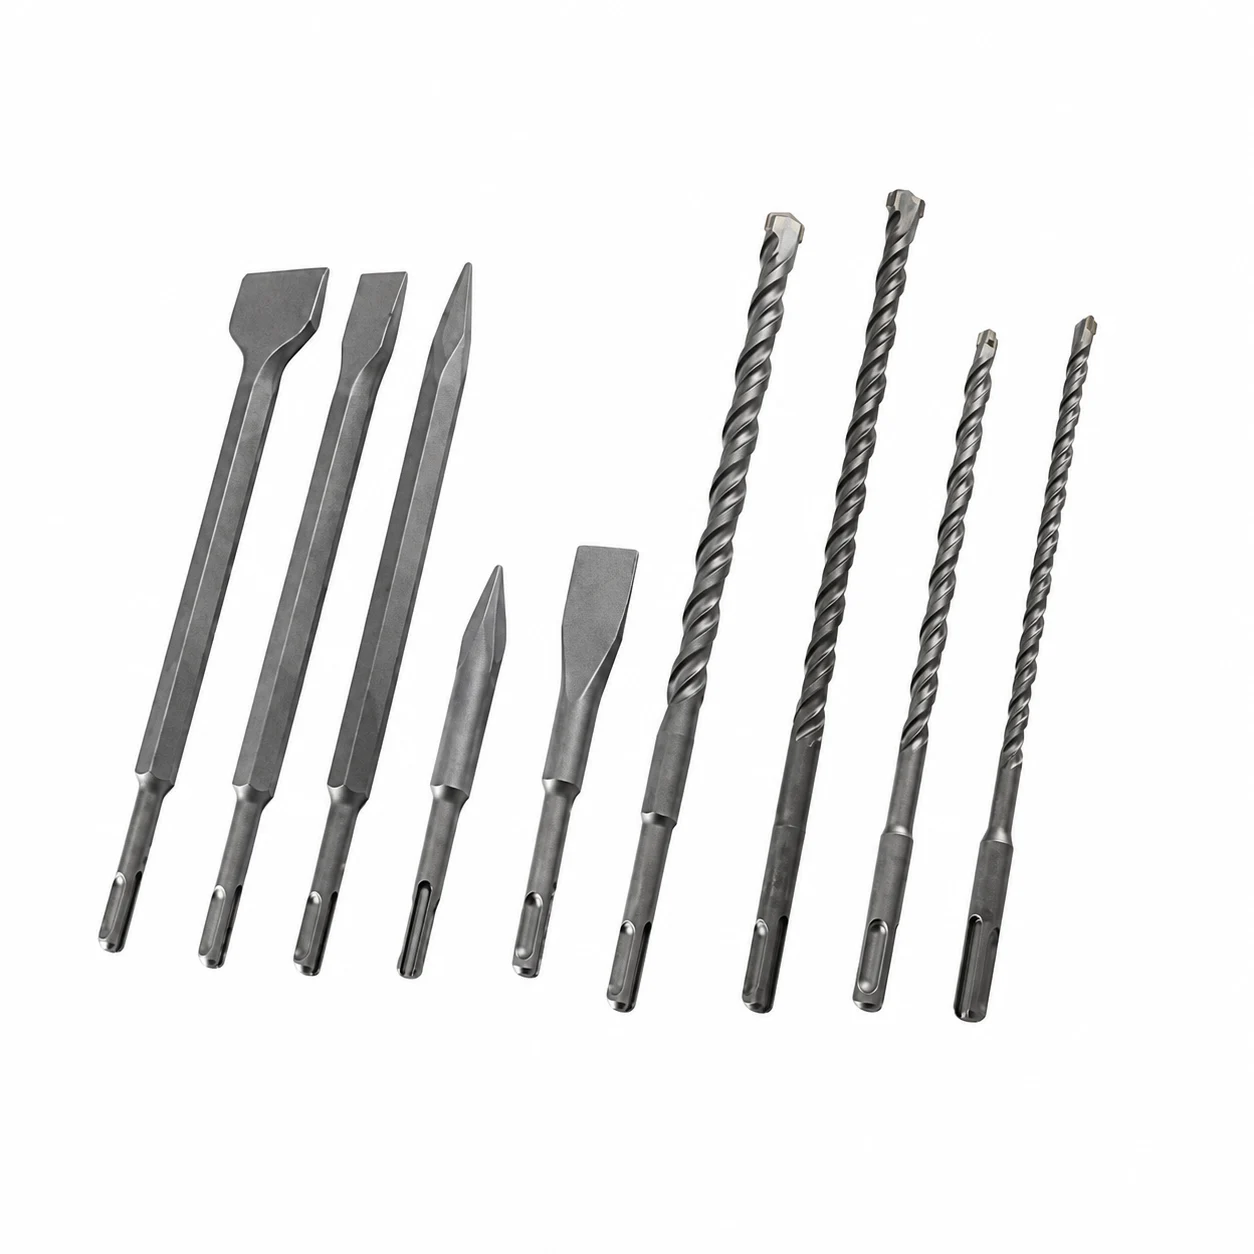
| Pointed | Localized breaking where a narrow point of contact is useful | Access to the contact point, material and the required removal area |
| Narrow flat | Chipping with a defined cutting edge | Edge width, orientation and clearance beside the work |
| Wide flat | Work where a broader edge suits the removal area | Contact width, approach angle and the machine’s suitability for the task |
| Bent or offset | Access requiring a different angle between the holder and working edge | Bend or offset, working clearance and how the edge meets the surface |
A wider blade changes the contact area; it does not establish that the chisel will remove every material faster. The hammer, material and intended action remain part of the selection. Likewise, an angled working end may improve access to a surface without making it suitable for every bonded covering or substrate.
For an edge-removal job, describe where the chisel has to work and what must remain intact nearby. For localized breaking, identify the material and the available space around the contact point. Those descriptions help distinguish a needed working-end feature from a shape that simply looks similar in a photograph.
Match the Interface and Chiselling Function
Start With the Tool Holder
SDS Plus and SDS Max are distinct interfaces. A shared SDS name does not make them directly interchangeable. Check the machine identification and the holder specified in its instructions before choosing a chisel. Overall length and working-end width cannot establish which shank is fitted, and a small product photograph can hide the details needed to distinguish the connection.
When replacing an existing accessory, send a clear view of the shank together with the machine model. Include any markings or product reference. If your team operates several hammer models, identify the required interface for each order line. This avoids grouping accessories together simply because they all serve demolition or masonry work.
See the SDS Plus vs SDS Max guide for a fuller comparison of the two systems. For the purchasing decision here, choose the interface required by the actual machine, then select a suitable working end. There is no useful universal ranking that makes one connection the right answer for every buyer.
Check That the Machine Supports Chiselling
A compatible shank is only one part of the match. The machine must also support the intended chiseling operation. Look for the relevant function in the machine instructions, often described as chiseling, hammer-only operation or rotation stop. Do not assume that a machine accepts chisels merely because it accepts an SDS drill bit.
The working end needs to act in the way intended for that accessory. Rotation stop is therefore a meaningful selection detail, rather than an optional description on a quotation. If you cannot identify the function from the machine model or manual, include that question in the inquiry before selecting a replacement.
Where a machine offers chisel-position adjustment, distinguish positioning the edge from driving it in rotation. Check the instructions for the required operating mode. This matters when an edge must approach a wall, corner or surface at a particular angle; the connection alone does not describe that setup.
Specify Length, Width and Access Together
Overall Length and Useful Reach
State the overall length with its unit. If an old reference contains only a number, establish whether it describes length, width, a model code or another feature. A catalog title and a photograph are not reliable substitutes for a dimensioned description.
Choose length around the point you need to reach and the position the hammer can occupy. A longer chisel may be needed for access, but length alone does not establish a greater removal capacity. Check whether the machine, operator position and nearby surfaces allow the working end to meet the material as intended.
Overall length is also different from usable reach in an assembled setup. Part of the accessory engages with the holder, while the hammer body may limit access. Where space is restricted, show the surrounding area and explain the reach you need. That is more useful than ordering a longer chisel without describing the obstruction.
Working Width and Approach Angle
For a flat working end, include the edge width separately from the overall length. For a bent or offset shape, show the side profile as well as the front. Two tools with similar lengths and widths can approach the work differently if their working ends are formed at different angles.
Match width to the part of the job being removed. A broad edge may be relevant to work along a surface, while a narrower contact may be needed near an obstruction. Neither description gives permission to use a particular tool on an unlisted material. Select against the actual chisel’s application guidance as well as the geometry.
For a repeated purchase, a clear reference drawing or an identifiable existing item helps keep these details together. Describe any intended change explicitly. If the issue is access around a corner, changing only the blade width may leave the original problem unresolved.
Removal Depth Is a Separate Requirement
Explain the depth or extent of material you need to remove. Do not treat the tool’s overall length as a statement of permitted penetration or working depth. A shallow surface-removal task and deeper breaking may need different approaches even when a chisel reaches both locations.
If the work involves a layered surface, name the layer to be removed and the base material underneath it. Include the required condition of that base after removal. This separates breaking work from a task where preserving the underlying surface matters, and gives a clearer basis for discussing the working end.